
Crafting a Zero-Calorie 'Cup of Love': A Guilt-Free Valentine's Delight
- Janis Saffell Team
- Feb 5
- 4 min read
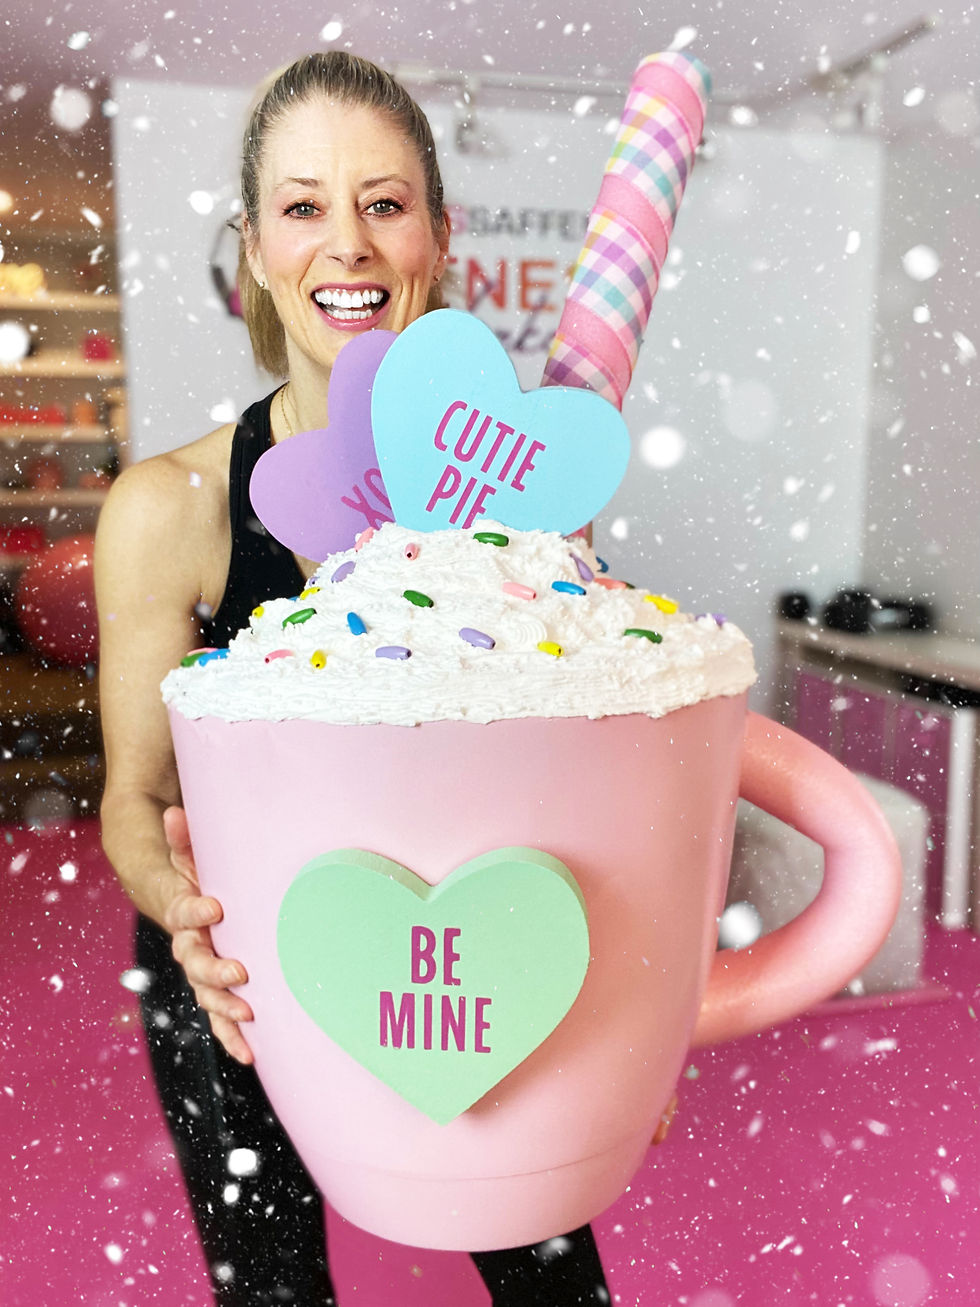
Valentine's Day is just around the corner, and what better way to celebrate than by crafting a delightful, zero-calorie "Cup of Love" that captures all the sweetness without any of the sugar? Inspired by the incredibly creative Bargain Bethany's Dollar Tree Valentine tea cup creation, my mom and I embarked on this DIY adventure to add a personal touch to our Galentine's Day tea party.
A Heartfelt Shoutout to Bargain Bethany
First and foremost, a massive thank you to Bethany for her ingenious idea! You made it look so effortless, and we couldn't resist giving it a try ourselves. Little did we know, this project would turn into a five-day crafting marathon filled with laughter, challenges, and cherished memories.
Gathering the Essentials
Our journey began with a scavenger hunt across multiple Dollar Tree stores (ha!), Home Depot, and Lowe's to gather all the necessary supplies. Here's what you'll need:
Jumbo planter pot (Dollar Tree)
3 pool noodles (Dollar Tree)
3 decorative conversation hearts (Dollar Tree)
1 pack of colorful wooden beads (Dollar Tree)
Strong adhesive tape
Spray paint in your chosen color (satin finish)
2 tubs of Spackle (or a gallon, to be safe)
Large pastry tip and pastry bag (available on Amazon)
Hot glue gun and super glue
Decorative ribbon (Dollar Tree)
Crafting the Cup of Love:
A Step-by-Step Guide


Day 1: Crafting the Handle and Whipped Cream Base
Handle Creation: We began by cutting the pool noodles to form the cup's handle. Finding the right size was a bit tricky; we discovered that longer pieces are easier to bend into shape. Ensure you cut the ends of the noodle diagonally in opposite directions for a snug fit against the planter. A word of caution: work swiftly with the hot glue gun to prevent melting the foam. After a few attempts and some persistence, we successfully attached the handles.
Whipped Cream Base: Next, we prepared the pool noodles for the base of the whipped cream effect. We cut them into varying lengths to create three tiers. Each piece was bent into a circle, with the ends taped securely together. Strong tape is crucial here to prevent them from coming apart. We then stacked the three tiers, securing them with tape, and added a smaller noodle piece at the very top to fill the hole where the extra dollop of spackle will go to hold the heart toppers. Since we only found pink noodles, we planned to spray paint them white to make sure it doesn’t show through.
Day 2: Painting Prep
Spray Painting: We prepped our yard with cardboard and spray-painted the assembled tea cups in our chosen color. The whipped cream topper forms were also painted white to achieve a realistic look.
Day 3: Assembly and Decorations
Handle Adjustments: Some handles needed reattaching, so we performed minor fixes. Meanwhile, Mom wrapped the straws with decorative ribbon, adding a charming touch. We hot-glued a decorative conversation heart to the front of each tea cup. Realizing our spackle supply was insufficient, a quick trip to Home Depot was in order.
Day 4: Whipped Cream Application
Spackling: The highlight of our project was applying the spackle to the noodle tiers to mimic whipped cream. Working quickly is essential, as spackle sets in about 30 minutes. We added extra spackle at the top to securely position two conversation hearts and the straw. Colorful wooden beads were sprinkled throughout to resemble festive sprinkles. Once dried, the result was both adorable and satisfying.
How to Fill the Pastry bag: To prepare your pastry bag for spackling, begin by inserting the desired pastry tip into the narrow end of the bag, ensuring it's securely in place. Next, carefully trim the tip of the bag to allow the pastry tip to protrude appropriately. To facilitate filling, fold the top edge of the bag outward to create a cuff approximately 2 to 3 inches deep; this fold helps keep the bag clean during the process. Place the bag, with the cuffed edge overhanging, inside a large cup or container to hold it upright and open, making it easier to fill. Spoon the spackle into the bag, taking care not to overfill; filling about halfway provides better control during application. Once filled, unfold the cuff and twist the top of the bag to close it (we added a twisty tie), preventing the spackle from spilling out during use. This method ensures a clean and efficient process, allowing for precise application of the spackle.
For a visual demonstration, you might find this Martha Stewart video helpful: https://youtu.be/ToKxRrVKmWA?feature=shared
Day 5: Final Touches and Quality Check
On the fifth day, we conducted a thorough inspection of our "Cups of Love" to ensure they were ready for gifting. During this process, we noticed that two handles had detached. To address this, we promptly reattached them using our hot glue gun, ensuring a secure bond. Additionally, we observed minor cracks in the spackle on one of the tea cups. To remedy this, we applied a fresh layer of spackle to fill the cracks, smoothing it out carefully. After allowing it to dry, the imperfections were no longer visible.
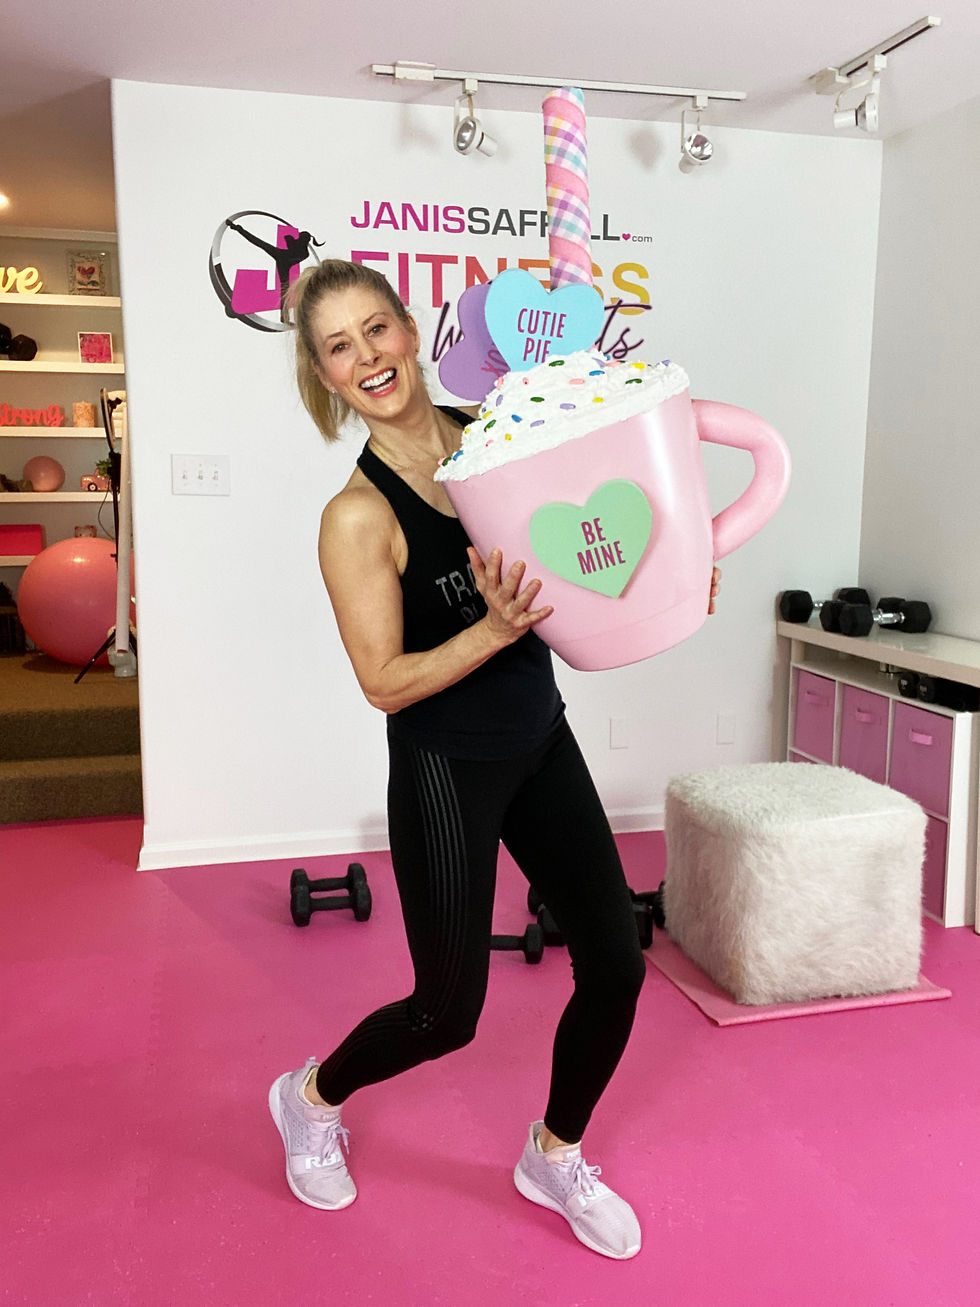
With these final adjustments, all our tea cups looked adorable and were ready to be shared with our girlfriends at the Galentine's Day tea party.
Measurements for noodle cuts
Note: You may need to make several cuts for the desired look.
Tea Cup Handle: 14-16 inches
Whip Cream Tiers: 1st tier 38 inches, 2nd tier 27 inches, 3rd tier 16 inches, small leftover to fill hole at top was about 3-4 inches.
Straw: use left overs or cut around 12-14 inches
Final Thoughts
This project was more challenging than it appears, especially since we ambitiously decided to create five tea cups simultaneously. However, the end result was worth every moment. These charming "Cups of Love" will make perfect centerpieces for our Galentine's Day tea party, and the experience of crafting them together was priceless.
A heartfelt thank you to my mom for joining me on this crafting journey. We shared laughter, faced challenges, and created lasting memories. And, of course, a big thank you to Bargain Bethany for the inspiration behind this delightful DIY adventure.
Happy Valentine's Day, and happy crafting!
Reach out I would love to help! inquiry@janissaffell.com


Commentaires